

Interact with the agent
How to answer the agent from its screen, with a mouse and keyboard, or from a serial console, how to change the language and keyboard, and how to write logs for support.
You answer the agent on the machine's screen, with a mouse and a keyboard, or from a serial console, for example through a server's management card. Every console shows the same session at the same time, and any of them can answer: see Several consoles at once.
What each screen asks is described in An interactive session, step by step and A non-interactive session.
The screen
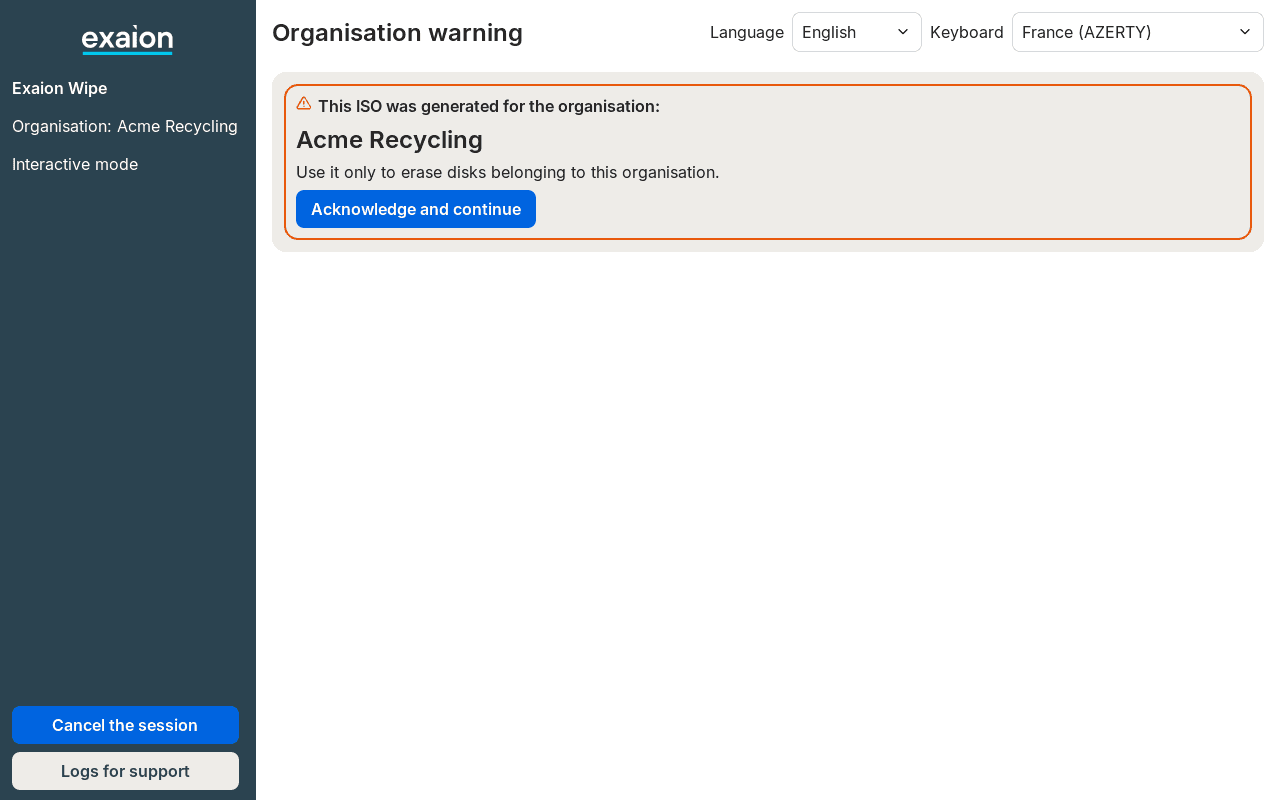
| Where | What it is |
|---|---|
| Top left | The title of the current step. |
| Top right | Language and Keyboard: see Language and keyboard. |
| Left column | Your organization (Organisation: <name>) and the mode (Interactive mode or Non-interactive mode). |
| Foot of the left column | Cancel the session (Stop waiting for the portal while the agent waits for the portal) and Logs for support: see below. |
Mouse. Any mouse or touchpad works; only the left button counts. To scroll a disk list, turn the wheel over it, or press the left button in it and drag. A scroll bar shows when a list is longer than the screen.
Keyboard alone. Everything can be done without a mouse. There is no on-screen keyboard.
| Key | What it does |
|---|---|
| Tab / Shift+Tab | Next / previous control. Each new screen starts on its first control. |
| Enter | Presses a button, ticks a box, opens or chooses in a list, records a text field. |
| Esc | Closes an open list. |
| Arrows | Move in an open list or a text field, or scroll a disk list that has the focus. |
A value typed in a field is recorded when you press Enter or leave the field. If a console
changed it meanwhile, the screen says This value was changed at a console: the field shows the new one.
A refusal shows as a red line at the top of the screen. While the agent processes an action, or when the screen loses the session for a moment, every control is grayed (see On a console).
Cancel the session
Cancel the session asks
Cancel the session? Disks not yet started will not be erased; a disk being erased is stopped and marked failed.,
then Go back or Cancel the session.
- Before the erasure, the session closes as
Session cancelledand nothing is erased. - During the erasure, no new disk starts, an overwrite still running stops, and the proof of what was done is still produced: see Cancel the session.
The button is shown from the first step to the confirmation, and during the erasure. It is hidden during the countdown: there, any key or click stops the countdown in interactive mode, and cancels the session in non-interactive mode. While the agent waits for the portal's answer, the button becomes Stop waiting for the portal: the proof is already on the key.
Logs for support
Logs for support writes a file for support on the reports key, support/<date and time>.tar.gz,
and says so: Logs for support written on the reports key: support/20261029T110624Z.tar.gz. It
works at every step, in both modes, even after the session has closed. Pressing it does not stop
the countdown. The date and time in the name are in UTC, as the machine's clock gives them: a clock set wrong
gives a wrong date.
The file holds the versions, the session's events, the disk list, the system journal and the kernel messages. It never holds the values you typed, keys or the identity. Send it to support.
On the closing screen, while the file is being written, the line that says you may remove the key
is replaced by Do not remove the reports key yet: the logs for support are being written. Wait
for it to come back.
If the agent itself stops on an error, the logs for support are written without you asking: see When the agent stops on an error.
Language and keyboard
Language: English (default) or Français. It is one language for the whole session: changing it on the screen changes every console too. The proof records the language in force when the countdown starts.
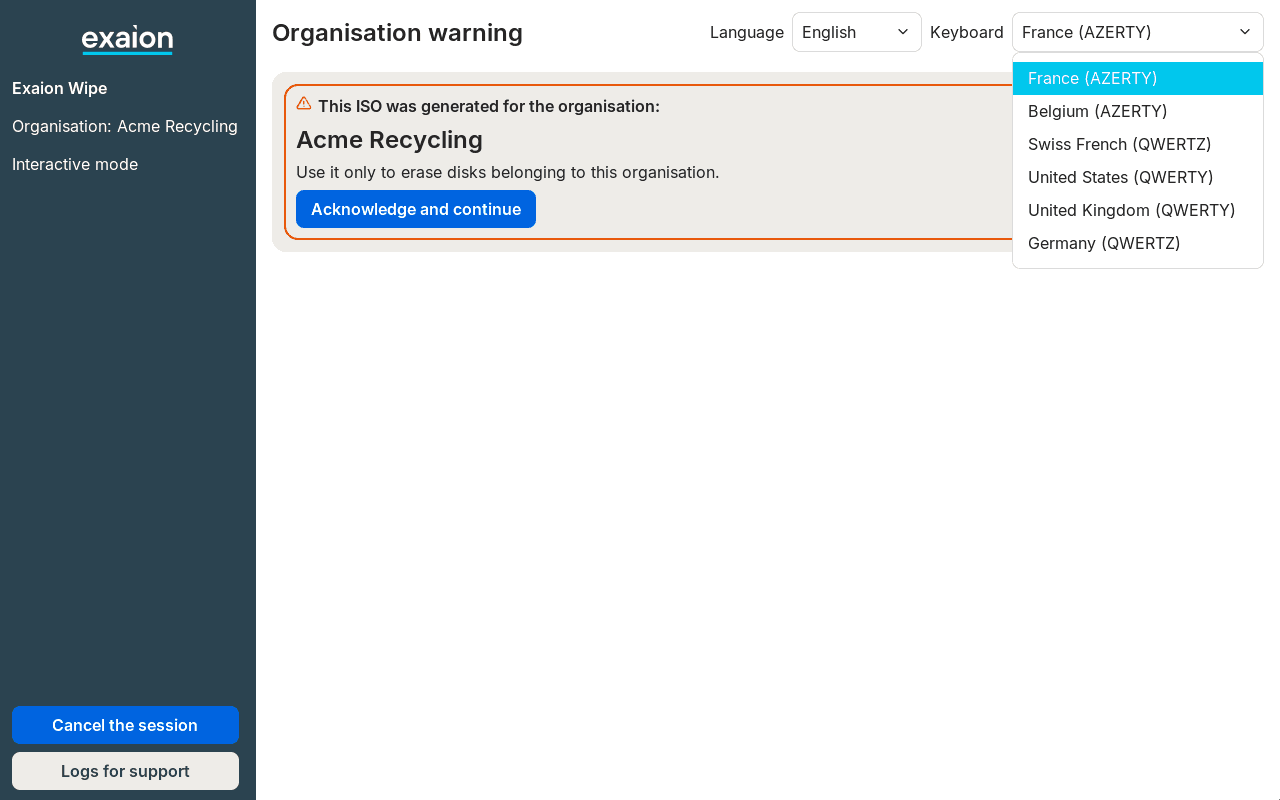
Keyboard: the layout of the keyboard plugged into the machine. It never changes a serial console, where the keys are those of your own terminal.
Both can be changed at every step, in both modes: during the erasure, while the proof is sent and on the closing screen too. During the countdown, change them with the mouse: the countdown goes on, while a key pressed there stops it.
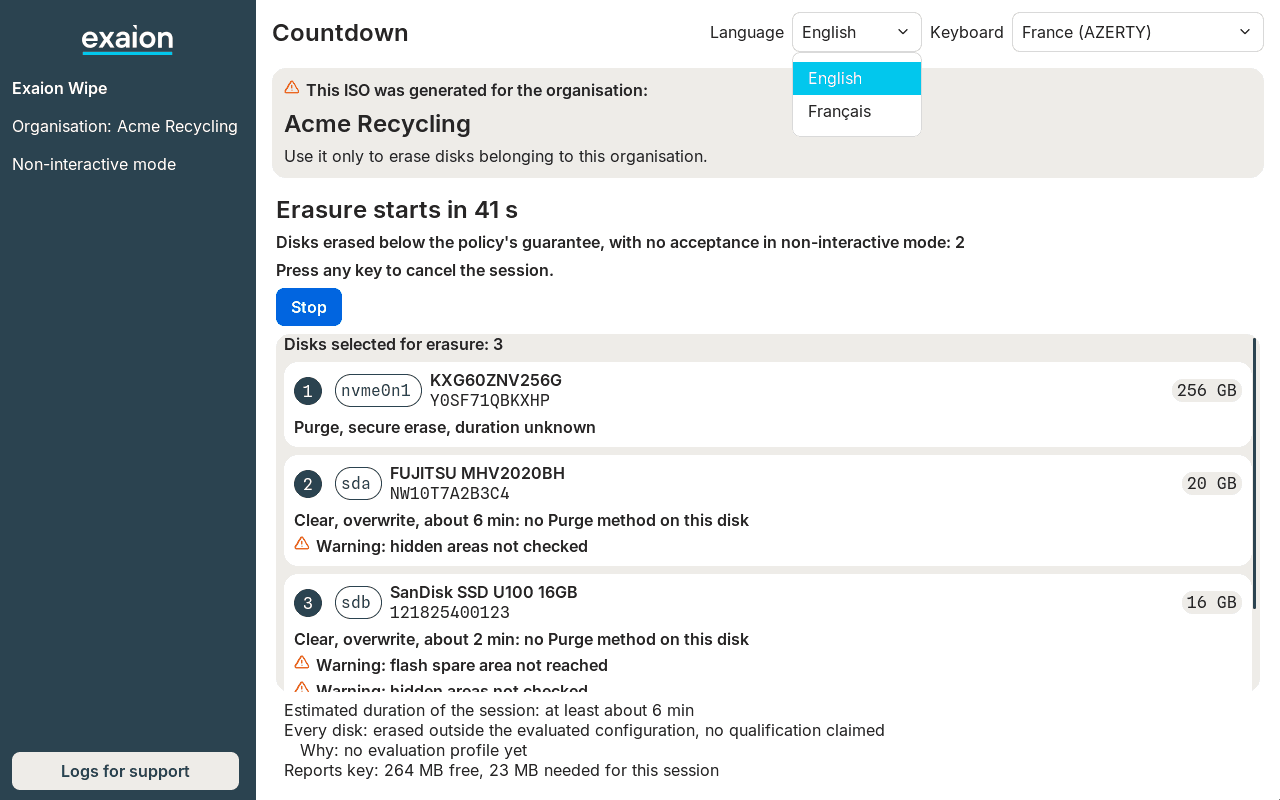
At a console, type l en or l fr, and kb followed by a code below.
Serial consoles
Both serial ports show the same screens as plain text. Which port to use and its settings: see Follow the session from the serial console.
Each screen ends with the commands of the step, then the keyboard and logs lines, and a >
prompt. Type a command, then Enter. Enter on an empty line shows the step's commands
again. q cancels the session at once, without the question the screen asks.
- Countdown: any key (Enter, Space, an arrow, Ctrl+C) stops it in interactive mode and returns to the confirmation with your choices kept.
- During the erasure: no prompt is shown, but
q(cancel),support,landkbstill work. - Waiting for the portal:
qstops waiting; the proof stays on the key. - After the session: the consoles show the closing screen and take no more input. Logs for support, the language and the keyboard can then be changed only from the screen.
In non-interactive mode, the consoles show
Non-interactive mode: no question is asked. Type any line to cancel. Any line you type cancels
the session, whatever it says, even support, l or kb. During the countdown, any key cancels
it. To change the language or the keyboard, or to write logs for support without cancelling, use
the screen.
Several consoles at once
The screen, COM1 and COM2 can all answer, at any step and in any order. When one console acts, the others say so with a line under the title:
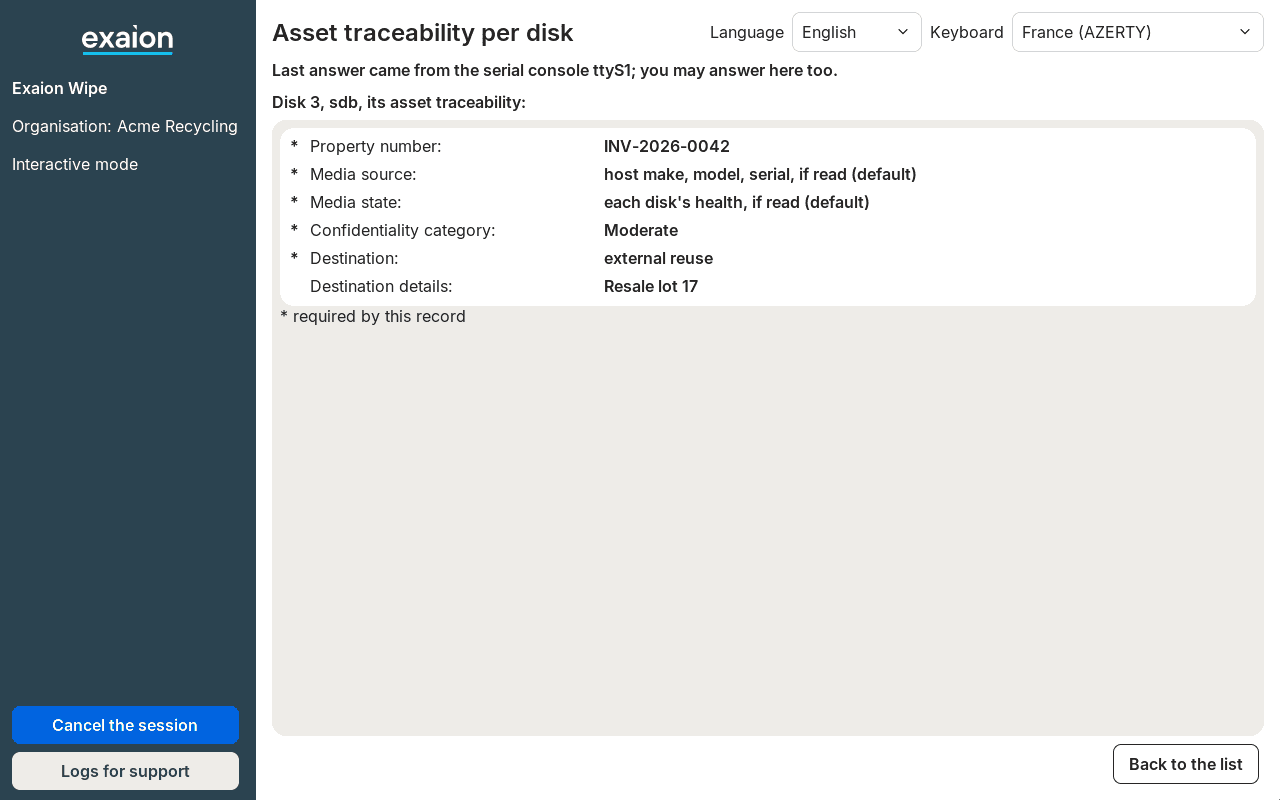
Last answer came from the serial console ttyS1; you may answer here too.
On a serial console this line takes the place of the commands and of the > : type your command
anyway, then Enter.
If someone else changed the session after your screen was drawn, your answer is refused with
The session changed since your last screen. Read the new state and try again. and the new screen
is shown.
Console commands
A serial console at the selection step:
Selection
 1 [ ] nvme0n1 KXG60ZNV256G Y0SF71QBKXHP 256 GB
   class: flash; sanitize: none; format: yes; deallocated: zeroes; last: ?
 2 [ ] sda FUJITSU MHV2020BH NW10T7A2B3C4 20 GB
   class: magnetic; security: not supported; TRIM: yes
 3 [ ] sdb SanDisk SSD U100 16GB 121825400123 16 GB
   class: flash; security: not supported; TRIM: yes
 4 [-] sdc boot medium Ultra Fit ? 30 GB
   class: not established; ATA data could not be read
number toggles, a all, n none, r refresh, c confirm, q cancel, l <lang> language
Keyboard: kb <code>, fr, be, ch_fr, us, uk, de
Logs for support: support
> 4
This disk cannot be selected: its line says why.| Step | Commands |
|---|---|
| Organisation warning | y acknowledge |
| Record | 1 or 2 choose |
| Person carrying out the erasure | <n> <text> type field n, <n> clear it, y confirm, b back |
| Asset (Full NIST SP 800-88 record) | as above, and <n> <k> pick choice k |
| Selection | a number toggles that disk, a all, n none, r refresh, c confirm; u to review the boot medium warning |
| Per-disk list (Full NIST SP 800-88 record) | d <number> open a disk, y continue, b back |
| Attestation | y attest, s skip, b back |
| Confirmation | a <number> or a all accept a lower guarantee, p all 1 or p all 3, p <number> 1 or p <number> 3 passes, k keep the proof on the key only, s send it to the portal, y (or c) confirm, b back |
| Countdown | any key |
| Proof, waiting for the portal | q stop waiting |
At every step but the countdown: q cancel, support logs for support, l <lang> language,
kb <code> keyboard. A number typed alone never accepts a lower guarantee: a 2 does; p 3 3 sets
three passes on disk 3.
Only at a console
Two things are done at a console only. The screen shows the result at once, and you can go on from either.
- A disk's own asset values (Full NIST SP 800-88 record only). The screen's per-disk list only displays them
and says
A disk's own values are given at a console.At a console:d <number>opens the disk,<n> <text>types a value,<n> <k>picks a choice,<n>alone puts back the session's value,breturns to the list, where the disk showshas values of its own. - A pass count for one disk:
p <number> 1orp <number> 3. The screen only sets one count for every hard disk, and showsset for this disk at a consolefor such a disk.