

The boot menu
The two entries of the agent's boot menu, what each mode does, and how to choose one.
When the machine starts from the agent, the Exaion Wipe menu appears. It offers two ways to run the session. Nothing else is in the menu.
| Entry | What it does |
|---|---|
| Exaion Wipe - interactive mode | Interactive mode: the agent asks you which disks to erase and waits for your confirmation. This is the default entry. |
| Exaion Wipe - NON-INTERACTIVE mode: erases all eligible disks, no prompt | Non-interactive mode: the agent erases every disk it is allowed to erase, without asking. |
The menu looks slightly different depending on how the machine starts (UEFI on most recent machines, legacy BIOS on older ones). The two entries are the same.
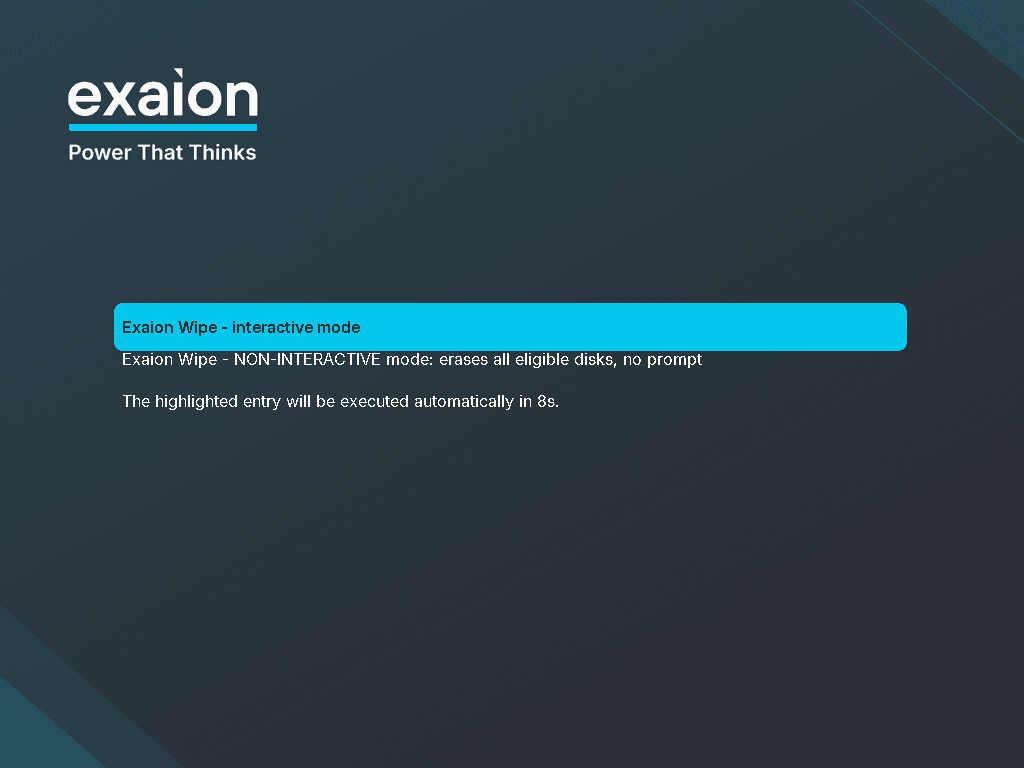
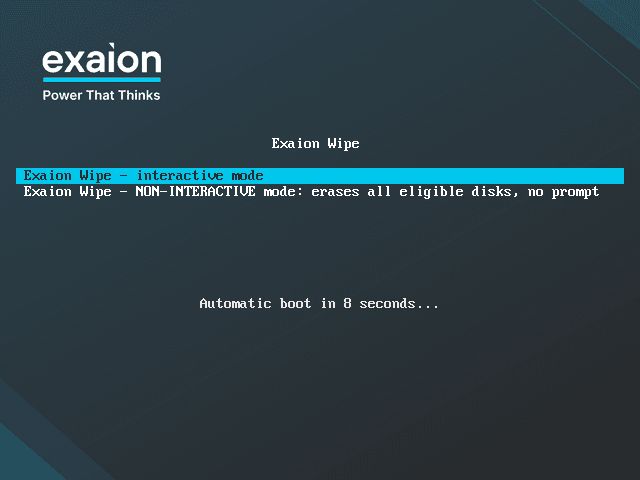
The non-interactive entry erases disks without asking anything. Choose it only on a machine you have decided to erase completely. It is never the default: you have to select it with the arrow keys.
Choose a mode
Start the machine from the agent
Start the machine from the USB stick, CD or virtual DVD that holds the agent: see Prepare the boot medium, or Start a server through its management card.
Pick an entry
Move between the two entries with the up and down arrow keys. The highlighted entry is the one that will start.
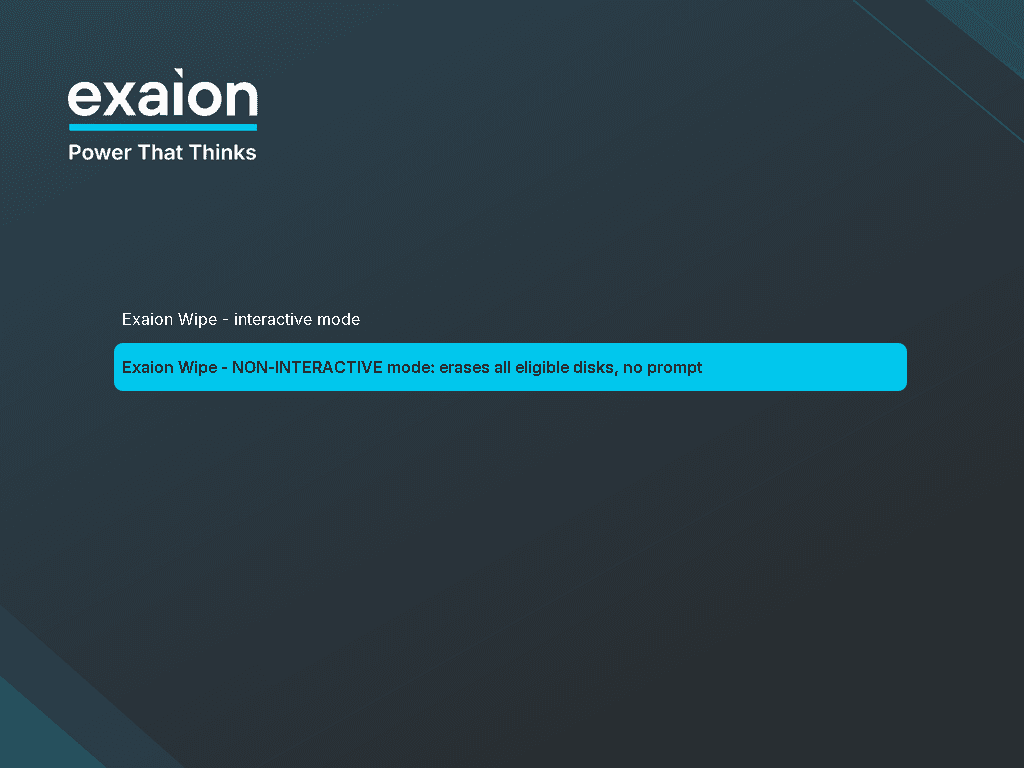
Start it
Press Enter. If you press no key for 10 seconds, the menu starts the interactive entry by
itself. The countdown is shown under the entries (The highlighted entry will be executed automatically in 8s. in UEFI, Automatic boot in 8 seconds... in legacy BIOS) and disappears as
soon as you press a key. In legacy BIOS, Tab shows nothing and starts the 10 seconds again:
use the arrow keys.
The machine then starts the agent by itself. The system's start-up messages scroll for a moment, then the agent's first screen appears, in the mode you chose. You type no command and no login prompt appears at any point.
What each mode does
Interactive mode asks before it acts. The agent first shows a warning about your organization,
which you acknowledge (Acknowledge and continue on the screen, y on a console). You then choose the disks to erase and confirm your choice. Nothing is
erased before that confirmation. See An interactive session, step by step.
Non-interactive mode asks nothing. The agent selects every eligible disk (every disk the agent is allowed to erase) and records the proof with the minimal level of detail. Before it starts, it counts down 60 seconds: any key or click on the screen, or any key on a serial console, during that time cancels the session. Apart from cancelling, only the language, the keyboard and the logs for support can be changed or asked for in this mode, on the screen. See A non-interactive session.
Non-interactive mode refuses to start, and erases nothing, when:
- the session configuration gives neither the operator's name nor their email;
- the agent cannot tell which device it started from;
- no disk is eligible.
On a serial console or a management card
The menu also appears on the machine's serial ports, so you can choose a mode remotely, from the console of a management card. On a serial port, the menu is plain text. Which port shows what: see Follow the session from the serial console.
Technical details
Start the agent over the network (PXE)
Starting over the network (PXE) is not supported in this release. What it would need today, a USB stick written from your ISO, and what the next release brings.
Interact with the agent
How to answer the agent from its screen, with a mouse and keyboard, or from a serial console, how to change the language and keyboard, and how to write logs for support.