

The wipe agent
What the wipe agent does, what you need to use it, how a session runs and where to start in this part of the guide.
The wipe agent is a bootable system. You start the machine to erase from a USB stick that holds the agent, and the agent erases the disks without using the machine's own operating system. Each disk is erased to one of the two levels of the NIST SP 800-88 standard, Purge or Clear (see Two levels of guarantee), then read back to check the result. At the end, the agent seals a signed proof of erasure and sends it to your organization's portal, which turns it into a certificate.
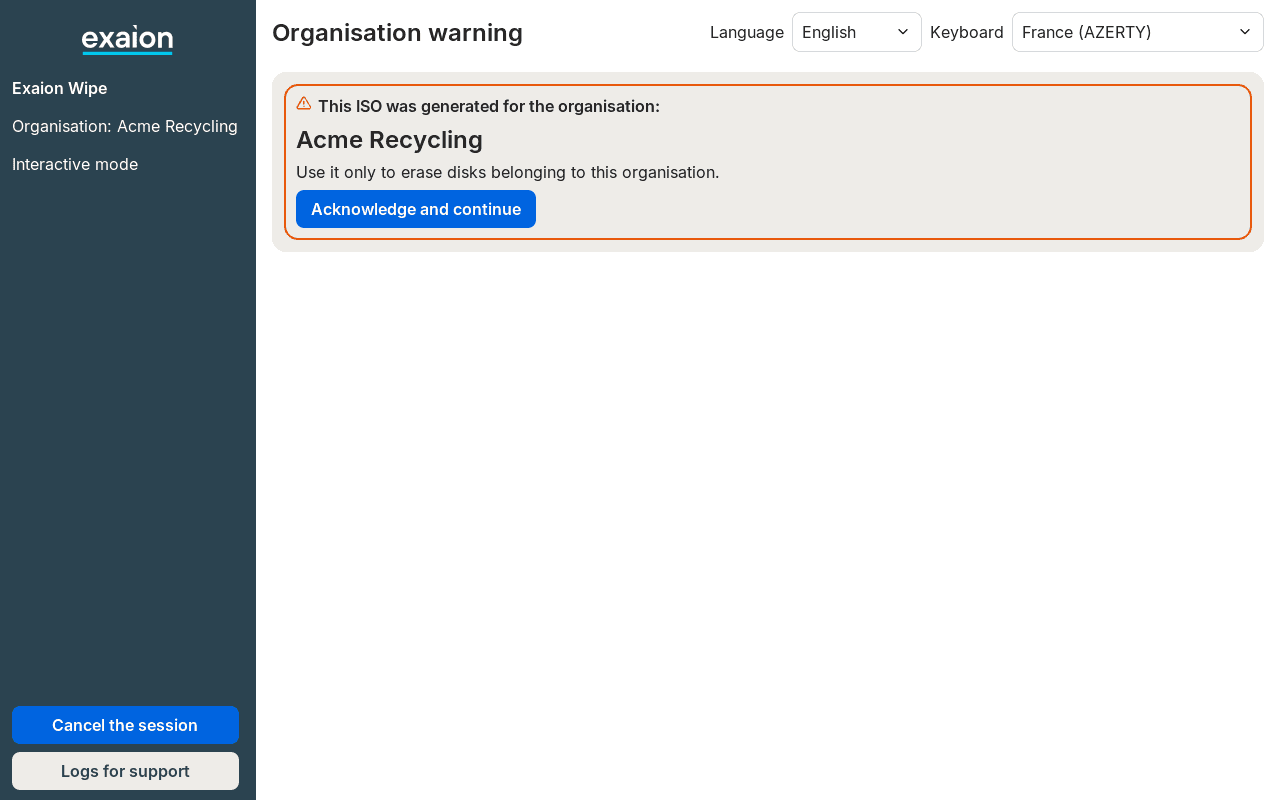
Each organization gets its own ISO of the agent, which carries its identity. Use only yours: the agent shows your organization's name on its first screen, and the portal refuses a proof made with another organization's ISO.
What you need
- Your organization's agent ISO, downloaded from the portal: see Download the agent.
- A USB stick of 1 GB or more, written from the ISO. The agent also keeps the proofs on it. For a server, you can use its management card (iLO, iDRAC, XClarity) instead, with a reports key plugged into the server to keep the proofs.
- The machine to erase. Nothing is installed on it.
- A wired network, optional. With it, the agent sends the proof to the portal at the end. Without it, the proof stays on the stick and you upload it later.
The agent sets up every wired network port by DHCP and reaches the portal directly over HTTPS. It has no Wi-Fi and uses no proxy.
How a session runs
- Write the stick from the ISO, once. It then serves on as many machines as you need.
- Start the machine from the stick. The boot menu offers the two modes and starts the interactive mode by itself after 10 seconds.
- Acknowledge the organization the ISO was made for.
- Declare who carries out the erasure and, for a full NIST SP 800-88 record, the equipment.
- Select the disks to erase.
- Confirm. The screen gives the level and method of each disk. You accept a lower guarantee where it applies, then start a 60-second countdown. Nothing is erased before it runs out.
- Let the agent erase. It erases the disks at the same time and checks each one.
- Get the proof. The agent saves the proof on the stick, sends it to the portal and shows the result. You then switch the machine off.
In non-interactive mode, the agent asks nothing: steps 3 to 6 are skipped, and the countdown starts as soon as the agent is up.
On the portal, each disk erased successfully uses one license: see How licenses work and Proof statuses.
Two modes
You choose the mode at the boot menu. The agent's screen then shows it in its left column, under your organization's name.
- Interactive mode: the agent asks before it acts. You choose the disks and confirm, and nothing is erased before your confirmation. This is the default.
- Non-interactive mode: the agent asks nothing. After a 60-second countdown, during which any key cancels the session, it erases every disk it is allowed to erase. This suits machines nobody stays at, such as servers in a rack. It needs the operator's name or email in the session file.
Where to start
| You want to | Read |
|---|---|
| Write the USB stick, or start from a CD | Prepare the boot medium |
| Start a server remotely | Start a server through its management card |
| Choose the mode | The boot menu |
| Use the mouse, the keyboard or a serial console, change the language | Interact with the agent |
| Erase a machine, screen by screen | An interactive session, step by step |
| Erase with nobody at the machine | A non-interactive session |
| Stop typing your details at each session | Prepare a session in advance |
| Know which method each disk gets, or why a disk is refused | How disks are erased |
| Read the result, or deliver a proof kept on the stick | After the session |
| Understand a message | Troubleshooting |